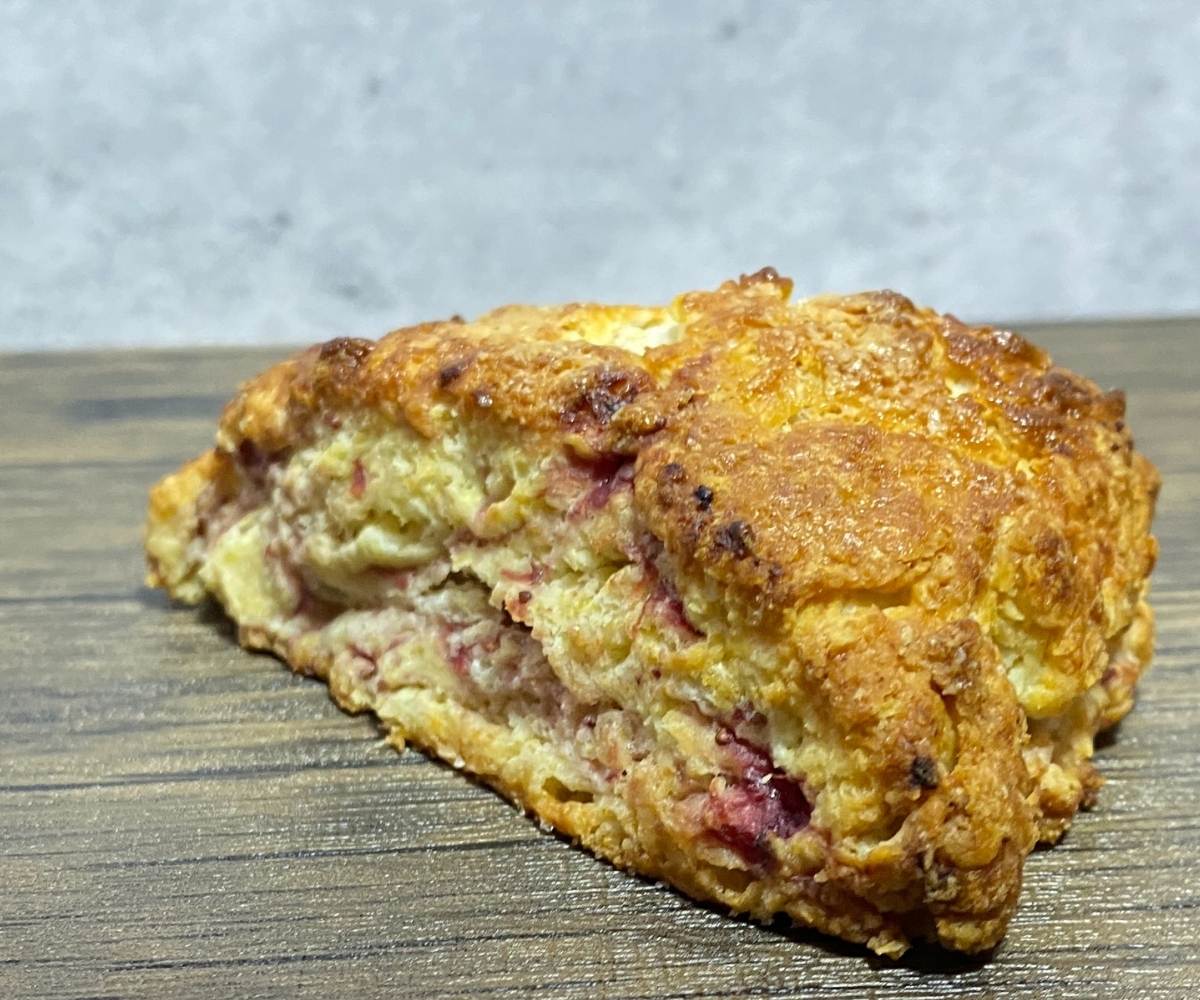
These roasted strawberry scones are the perfect antidote to winter. The strawberries become luscious and jammy after a quick trip to the oven, and really make these scones shine.
Roasted Strawberries – A Baker’s Answer to Winter
We grew up in California, spending a lot of time in the Central Valley, America’s fruit bowl. Watsonville, the small beach town where we spent most weekends and much of the summer is, in fact, the officially designated strawberry capital of the United States (located just a few miles down the road, adorably, to Castroville, the artichoke capital of the United Sates). So, we came into early adulthood with a (perhaps unreasonable) expectation that we should be able to have sweet juicy strawberries at all times of the year. Our first winter in Concord, New Hampshire, beat that notion out of us immediately.
We spent the next decade on the East Coast, bemoaning the lack of decent strawberries, avocados, and, well, just about any other kind of produce, at anytime other than summer. So, it was a relief to learn that, while we couldn’t do anything about the avocadoes (and, by the way, New Yorkers, iceberg lettuce is not a vegetable appropriate for human consumption), we could produce sweet juicy strawberries in the oven, no matter the time of year. These roasted strawberries make just about anything taste better — oatmeal, pancakes, yogurt, etc. You could even use them in place of fresh fruit in a Chantilly Cake. So, while we strongly recommend that you just keep a vat of them lying around in the fridge, we can also understand that your sweet tooth might not be as extreme as ours and you might need to prep them just for this recipe.
Roasting the strawberries before you add them to the scone batter also improves the finished scone. Instead of getting watery and squishy, the strawberries are jammy and packed with flavor in these roasted strawberry scones.
Sconing About
On a scone kick? Beset by a unexplainable desire to learn more about the history of scones? Wondering why we love pastry cutters so much? Never fear, we’re here to help. Check out these delicious scone options that will also provide answers to your burning scone-adjacent questions:
- Maple Oat Scones
- Blueberry Gluten Free Scones
- Pumpkin Scones
- Banana Chocolate Chip Scones
- All-American Chocolate Chip Scones
Recipe Facts
- Yield: 12 scones
- Active time: 25 minutes
- Chill time: 30 minutes
- Bake time: 40-50 minutes
Ingredients for the Roasted Strawberry Scones
For the Roasted Strawberries:
- 2 cups sliced or quartered fresh strawberries or defrosted frozen strawberries
- 1 tbsp sugar
For the Scones
- 2 3/4 cups all purpose flour
- 1/3 cup sugar
- 3/4 tsp salt
- 1 tbsp baking powder
- 8 tbsp (1 stick) butter, cold, cut into 1/2 inch cubes
- 2 large eggs
- 2 tsp vanilla extract
- 1/2 cup half-and-half, cream, or milk
Topping
- 2 tsp half-and-half, cream, or milk
- 2 tbsp white sugar
Instructions for the Roasted Strawberry Scones
For the Roasted Strawberries:
- Preheat oven to 425 F. Line a baking sheet with parchment paper or a silicone baking mat.
- In a medium bowl, combine the strawberries with sugar, tossing to coat.
- Spread the berries evenly on the baking sheet and roast for about 20 minutes until softened and “jammy” looking.
- Remove the berries from the oven to a wire rack (but leave the oven on, as you’ll be using it for the scones) and let the berries cool in the freezer while you prepare the dough.
For the Scone Dough:
- Make sure your oven is still set to 425 F. Line a baking sheet with parchment paper or a silicone baking mat.
- In a large mixing bowl, whisk together the flour, sugar, salt and baking powder.
- Using a pastry cutter, cut the butter into the flour, until butter chunks are no larger than small peas.
- In a separate small bowl, whisk together the half and half, eggs, and vanilla.
- Pour the half and half mixture over the flour mixture and use a fork to gently stir together. Scrape the roasted strawberries into the mixture and gently stir to combine.
- When the dough begins to come together, pour the scone dough out of the bowl onto a floured surface and knead 3-4 times until the dough forms a ball.
- Split the dough in half and shape each half into a roughly 6″ circle, about 3/4″ thick.
- Use a sharp knife to cut each circle into sixths.
- If you have time, place scones on a baking tray and freeze for 30 minutes to allow gluten to relax, making the scones moist and tender, and to chill the butter, ensuring a high rise.
- Place scones on prepared baking sheet. Brush with half and half and sprinkle with sugar.
- Bake scones 18-23 minutes until golden brown.
- Remove scones from the oven and let cool briefly. Serve warm, with a pat of salted butter.
Affiliate Disclosure: As Amazon Associates, we earn a small commission from qualifying purchases when you click on links embedded in this post.

