
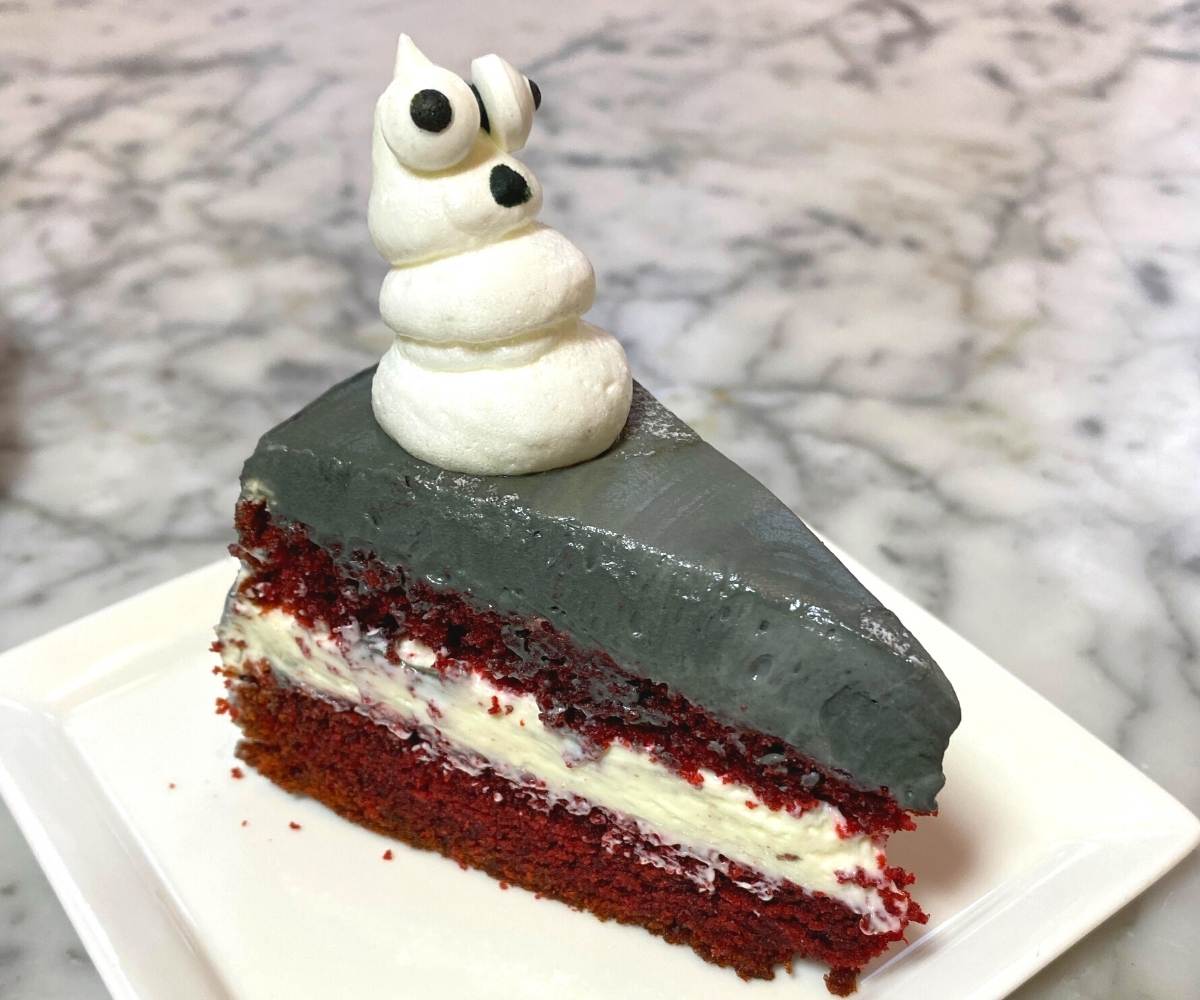
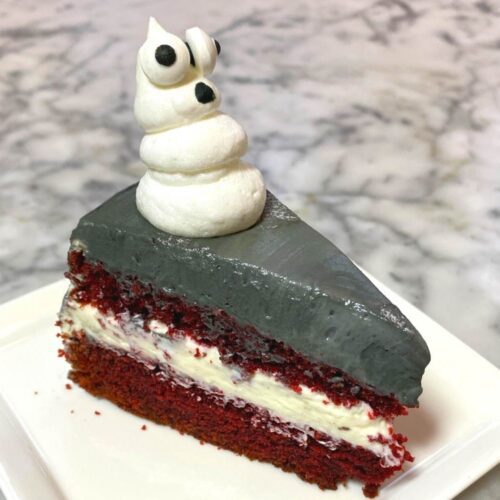
We’ve adapted our favorite real red velvet cake recipe for Halloween. For the holiday, our favorite red velvet cake is festooned with adorable meringue ghosts. A creamy whipped cream cheese frosting hides the blood red insides. SPOOOOOKY and delicious!
A Short History of This Real Red Velvet Cake Recipe
Some key facts: in the 19th century, flours were coarser, resulting in a coarser crumbed cake. The term “velvet” was applied broadly to any cakes that included ingredients that might give the cake a finer crumb.
In the early 20th century, cocoa began appearing on store shelves. It wasn’t the “Dutch processed” kind we use today. It was raw cocoa, containing higher levels of anthocyanin, a pigment found in plants, fruits and vegetables. When the raw cocoa was combined with an acidic ingredient like buttermilk, the anthocyanin would turn red. The higher fat content, and inclusion of the cocoa, would also have given this cake a velvety crumb. The chemical reaction of the cocoa and the buttermilk would give a classic red hue. Hence, this cake’s name: “Red Velvet.” The cake was generally served with a French roux-based icing, called “Ermine Frosting,” making it quite the fancy get-up.
The origins of the cake are a bit murky. It became very popular in the Southeastern part of the United States. The red tone got a boost when the Adams Company developed the first red food color for the mass market. They used recipe cards (including, of course, Red Velvet Cake!) to market their products. As early as 1943, the recipe earned its place in the firmament of American cooking and baking, through its inclusion in an edition of the Joy of Cooking (although the author professed that she did not care for the recipe). During the war years, when both sugar and butter were hard to come by, beet juice gave the cake added moisture sweetness, and color.
The cake fell out of favor in the later part of the 20th century. It was, however, featured in the 1989 film “Steel Magnolias” (in the form of an Armadillo-shaped groom’s cake) launching a re-popularization of the recipe. Red velvet everything, including some things of doubtful quality, like granola bars and smoothies, quickly followed.
Beyond this Real Red Velvet Cake Recipe…More Halloween Treats!
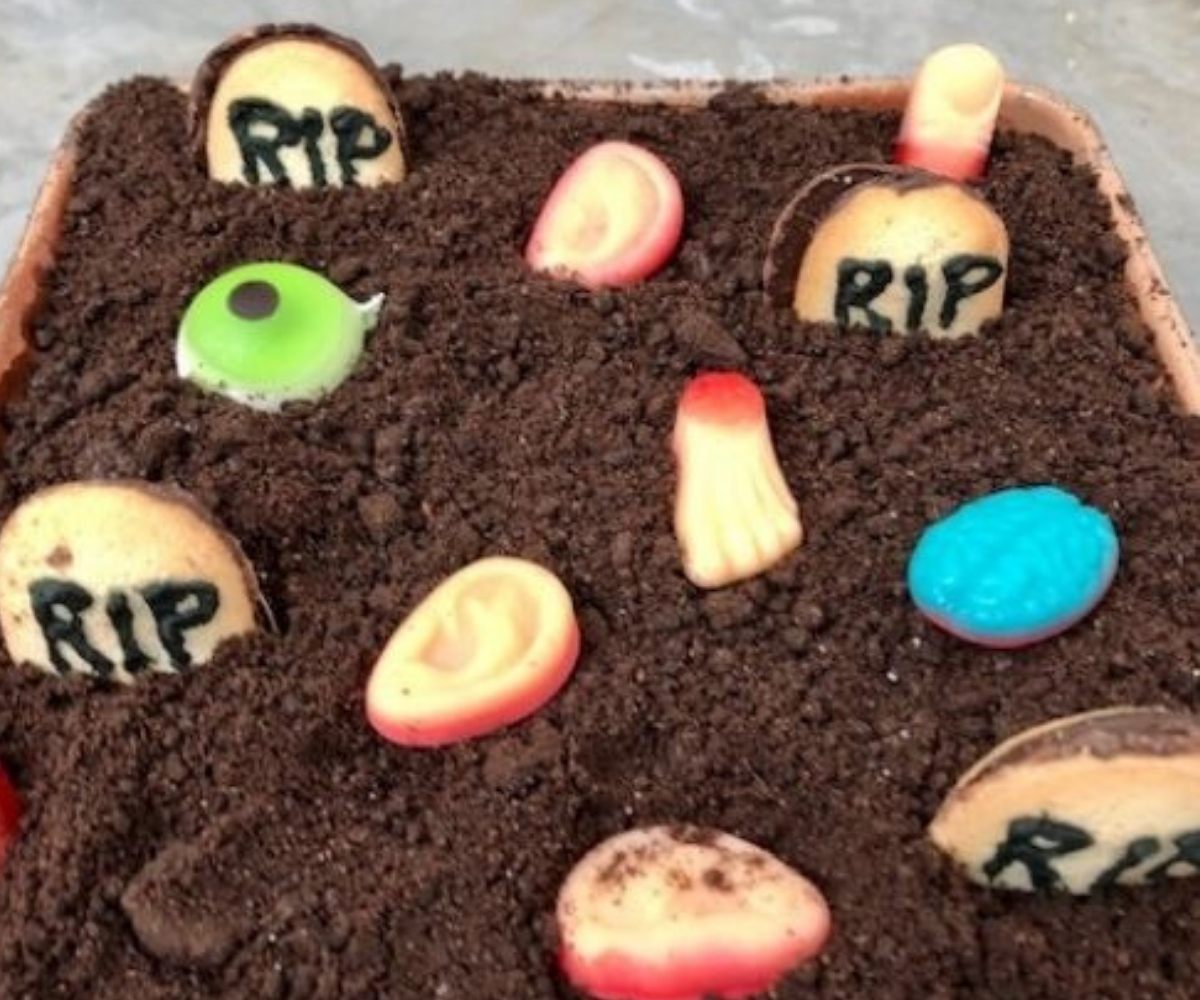
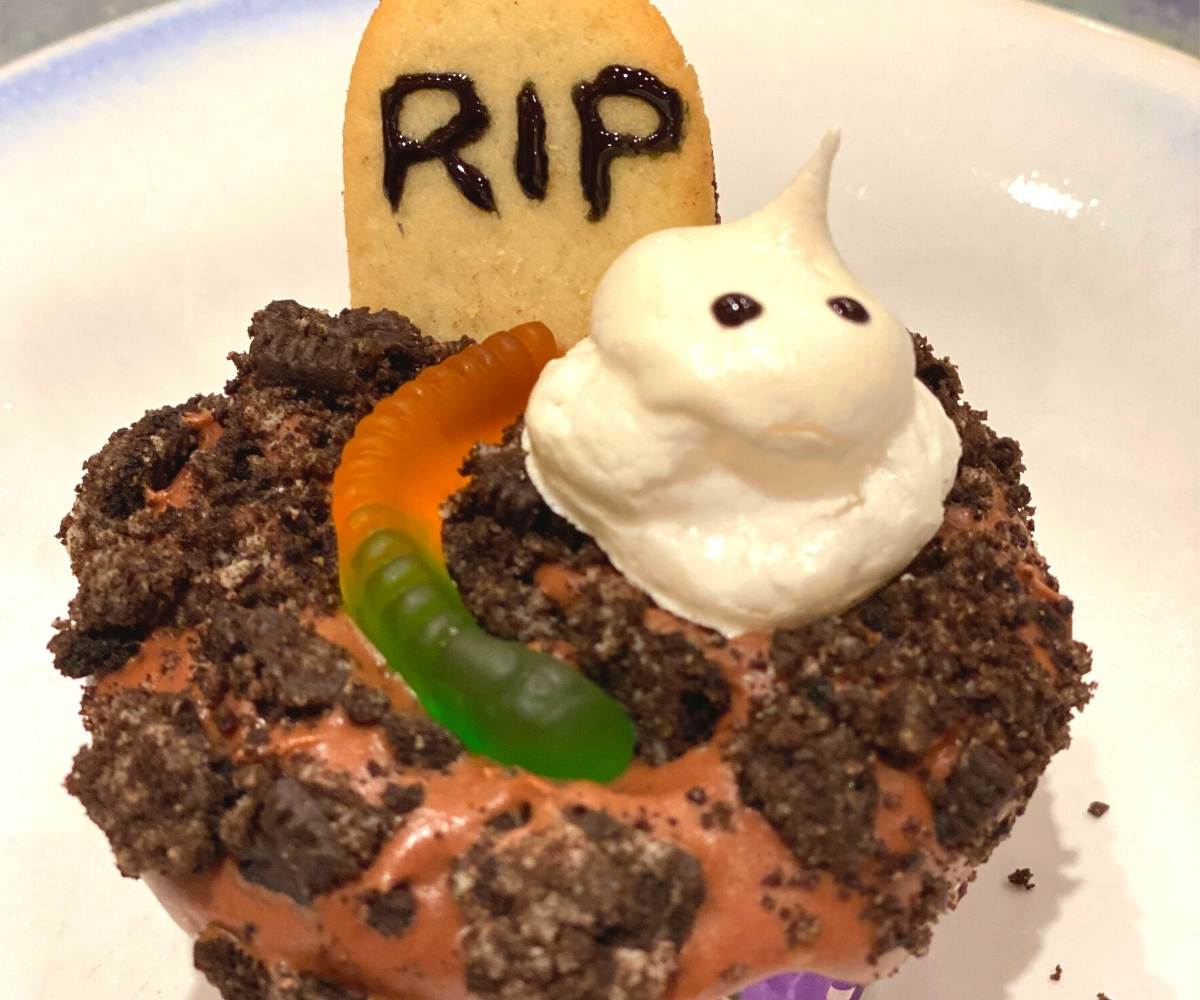
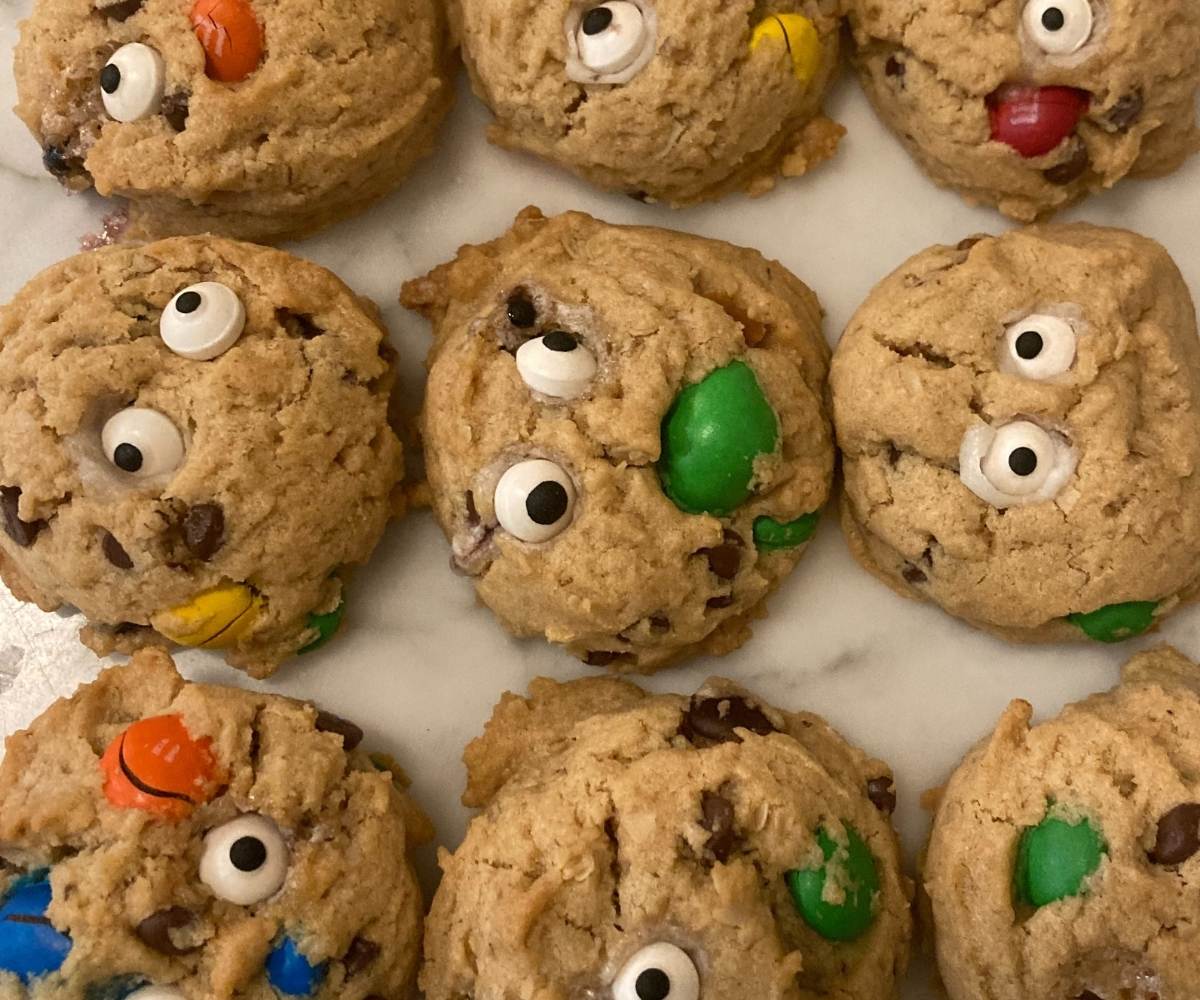
Looking for a Halloween chocolate cake? Check out this graveyard themed chocolate dirt cake and ghostly cupcakes, among the many other Halloween treats below.
Useful Tools for Making this Real Red Velvet Cake Recipe
Spookiest Halloween Real Red Velvet Cake Recipe
Equipment
- 8-inch cake pan
- parchment paper
- offset spatula
- disposable piping bag
- 1/4-inch round piping tip
- cake smoother
Ingredients
For the Original Red Velvet Cake Recipe:
- 1 1/3 cups cake flour
- 1 tbsp cocoa powder
- 1/2 tsp baking soda
- 1 pinch of salt
- 1/4 cup butter unsalted, at room temperature
- 3/4 cup sugar
- 1 egg
- 1/2 cup vegetable oil
- 1/2 tsp white vinegar
- 1 tsp vanilla extract
- 1/2 cup buttermilk
- 1 1/4 tbsp red gel food coloring
For the Sweet Cream Cheese Frosting:
- 8 oz cream cheese
- 8 oz mascarpone cheese
- 1 cup powdered sugar
- 2 cups heavy cream
- 1/4 tsp almond extract
- Black gel food coloring
For the Ghosts:
- 1/8 cup granulated sugar
- 1/8 cup powdered sugar
- 2 large egg whites
- 1/8 tsp cream of tartar
- black icing store bought
- candy eyes
Instructions
Instructions for the Halloween Red Velvet Cake
- For the Red Velvet Cake:
- Preheat oven to 350 F.
- Butter an 8-inch round cake pan (sides and bottom), and line the bottom with parchment paper.
- Sift the dry ingredients together into a small bowl.
- Cream the butter and sugar together in the bowl of a stand mixer using a paddle attachment on low speed until smooth and well combined.
- Add egg, beating to combine.
- Add vegetable oil, vinegar, vanilla, buttermilk, and red food coloring.
- Beat until smooth.
- Add dry ingredients and beat until the flour mixture and wet ingredients are well combined.
- Pour cake batter into prepared pan and bake 30-35 minutes until the a cake tester inserted in the center comes out clean.
- Let rest in the pan for 10 minutes, then turn out onto a wire rack and allow to cool fully.
- Wrap tightly in plastic wrap and freeze to make the cutting and frosting easier.
For the Meringue Ghosts:
- Preheat oven to 225 F.
- Line a baking sheet with parchment paper or a silicone baking mat.
- In the bowl of a stand mixer, using the whisk attachment, whip the egg whites on medium-high speed until broken up. Add the cream of tartar. Increase speed to medium and beat until frothy.
- Gradually add the sugars and continue beating until the egg whites are stiff peaks.Transfer meringue to a piping bag with a large round tip.
- Pipe the meringue onto the prepared baking sheet by piping a large circle, lifting slightly and piping a slightly smaller circle, then lifting slightly again and piping another smaller circle.
- Bake for an hour and twenty minutes until the outsides are hard.
- Let cool completely, then decorate with black frosting for the mouth and candy eyeballs.
For the Frosting:
- In the bowl of a stand mixer, using a paddle attachment, beat the cream cheese to soften.
- Sift in the powdered sugar and continue beating on slow speed until smooth.
- Beat in the heavy cream and almond extract until just combined, scraping down the bowl to ensure that all of the cream cheese is incorporated.
- Switch to the whisk attachment and whip on medium speed until medium peaks form.
- For Assembly:
- Remove the cake from the freezer and even out the top, if needed. Slice in half, forming two cake layers.
- Place one of the cake layers on a cake stand.
- Put the frosting in a piping bag with a large round tip. Pipe a spiral of frosting over the first half of the cake, then top with the second cake half.
- Refrigerate for at least 30 minutes to set.
- Smooth a thin layer (“crumb coat”) over the cake and let set for at least an hour.
- Pipe a layer of white frosting at the bottom of the cake, then add a few drops of black gel food coloring to the remaining frosting. Pipe a layer of slightly grey frosting above the white layer.
- Repeat, adding more black, and adding layers of frosting, until you have covered the sides of the cake. Cover the top of the cake with a spiral of frosting.
- Smooth using a cake smoother or offset spatula.
- Top with ghosts, and enjoy sharing with the all of the ghouls (large and small) in your life!
Notes
Affiliate Disclosure: As Amazon Associates, we earn a small commission from qualifying purchases when you click on links embedded in this post.